3.10 Adjust polygon to line - LUPMISManual
Main menu:
3.10 Adjust Polygon to Line
Level of expertise required for this Chapter: Advanced; general Map Maker training
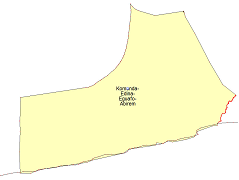
Occasionally there is a need to adjust a polygon to a line, like a polygon map, where one border line has been defined recently more accurately. For example, an administrative unit has been drawn as a polygon, with a border, which is now defined more accurately.
There are two ways to do so: (A) or (B), as explained below.
- - - - -
A) Use the extend -trim option:
1. If you have a line as the new boundary, you have to form a polygon from this line.
- 1.1 Close the line in such a way, that it encloses the polygon all way around, except where the polygon has to be adjusted.
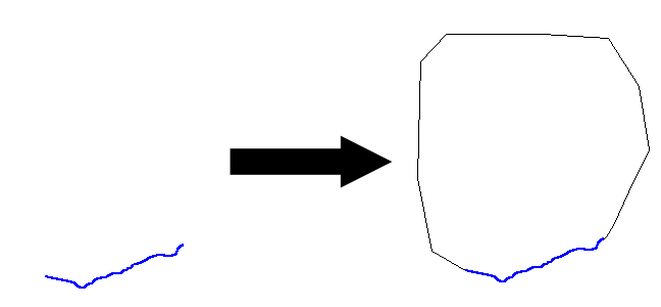
- 1.2 Form a polygon from this line: Main menu > Edit > Show Selection Manager > Select-tool (at toolbar left) > Select the lines from previous step > Selection Manager window: Actions > Polygon manipulation > Convert lines to polygon > Convert lines to polygon window: Snap: 0, all other settings unchanged > OK > Close the window, and save this polygon.
2. Load the layer with the polygon(s) to be cut to the live layer, and extend the polygon beyond the cutting line:
Nowhere the polygon should be smaller than the ‘cutting polygon’.
You can do this
- with the Cutter-tool (from toolbar at the left) starting from inside (see Chapter 2.13 for the procedure to extend a polygon), then Join-tool from inside the polygon to the extended area, or
- in the Edit-mode (from toolbar at the left, double-click on polygon) and move the vertex points to outside
3. Cut, still with main map in live layer: Main menu > Edit > Show Selection Manager > Select-tool (at toolbar left) > Select the polygon(s) > Selection Manager window: Actions > Extent > Trim vectors to polygons > Trim vectors to polygons window: Polygon file > Select file for cutting, as defined in step 1.2 > Open > OK.
Finished, clear the window, save the new file.
- - - - -
B) If you don’t have styles and/or labels and no attribute data attached, you can also use following method (polygon --> lines --> polygons):
1. You load both layers (polygon and line) to the live layer:
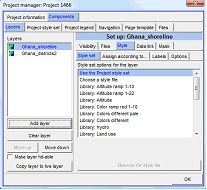
Right-mouse > Project manager > Project manager window: Add layer > Select folder and file of polygon layer > Open > Add layer > Select folder and file of line layer > Open > Copy layer to live layer > Copy layer to live layer > OK
In the live layer, you delete all units except the one polygon and the one line, which you will use (with the Select-tool (at toolbar left) > Delete).
2. Convert the polygon to line(s): Select-tool (at toolbar left) > Select the polygon > Main menu > Edit > Show Selection Manager > Selection Manager window: Only this one polygon should be listed > Actions > Basic operations > Convert polygons to lines > Convert polygons to lines window > Leave ‘Break lines at corners’ unticked > OK > Close Selection Manger window
Now, you don’t have a polygon anymore, only lines.
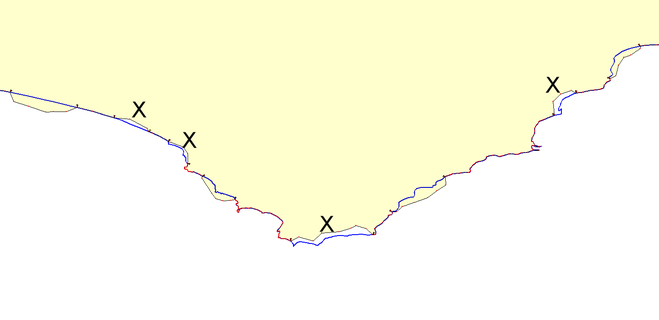
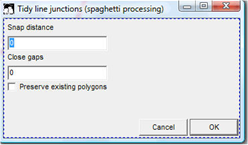
3. Delete any lines, which are not used for the new polygon: Select-tool (at toolbar left) > Select the line(s), which are not forming the new polygon > Main menu > Edit > Show Selection Manager > Selection Manager window: Actions > Tidying > Tidy line junctions (spaghetti processing) > Tidy lines junctions window: Snap distance: 0 > Close gaps: 0 > OK > Close Selection Manger window
Delete all ‘wrong’ lines (Select-tool > delete).
Alternatively, instead of using the ‘tidy line junctions’ command above, you can also cut near the junctions, where the ‘old’, inaccurate line meet with the ‘new’, accurate lines. You will then delete the ‘old’ line, and snap at each junction (Edit-tool (at toolbar left) > double-click > move vertex to other line vertex > right-mouse > Actions > Snap vertex to nearest vertex)
You will have two or more lines, which together look like a polygon
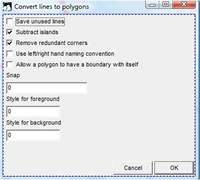
4. Form the new polygon: Select-tool (at toolbar left) > select all lines of the polygon > Main menu > Edit > Show Selection Manager > Selection Manager window: Actions > Polygon manipulation > Convert lines to polygons > Convert lines to polygons window: Leave default, all values at 0 > OK > Close Selection Manger window
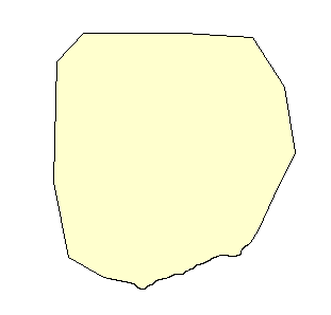
This is the final polygon, which has to be joined to the original map:
Right-mouse > Save live layer as… > File name: Temp > Save > Save >
Right-mouse > Project manager > Project manager window:
The layer ‘Temp’ should be already there (otherwise add it), also ‘Add layer’ the original (polygon) map:
Add layer > Select folder and file of polygon map > Open > Copy layer to live layer > Copy layer to live layer > OK
You now have two very similar polygons on top of each other. Delete the old unit (Select-tool > delete). Sometimes, it is not easy, to pick the one to be deleted. If necessary, edit the label and the style of the new (remaining) polygon. – Finished!
Don’t forget to save (right-mouse > Save live layer as… > Select folder and file name > Save > Save )